Materials required: scrap or recycled materials, glue, Bristol board, pencils, paper, erasers, scissors
A collage is an image made from miscellaneous — often scrap or recycled — materials. The materials are cut and glued onto a backing and can be painted. Collage should be tactile — and it is these skills in art that should be highlighted — texture, pattern, shape, position, and colour.
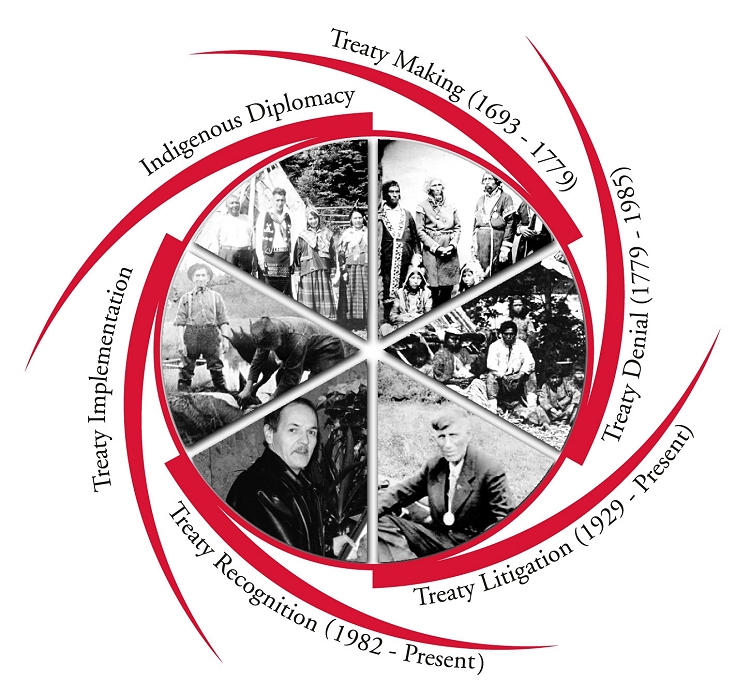
This activity is also about creating a message. The subject here is treaties and either: a) how and where they were signed or b) setting up the parts of a treaty signing. Use the text and images in the teacher’s introduction as focal points. You can also use the internet for research and have students gather more images that answer the following questions:
- What did the treaties look like?
- What did British soldiers wear when treaties were signed?
- How did Indigenous people celebrate following the treaty signing?
- Who wore a treaty medal and what did it look like?
- How was a treaty agreement sealed?
Make sure that the middle of the collage shows that a treaty has been reached. Some suggestions might be:
- A handshake
- A shared meal
- Gift giving
- A dance
- A hatchet being buried
- A shot from a cannon
Materials for planning the collage
- Pencils
- Paper
- Erasers
Materials for collage
- Found materials, man-made: pieces of plastic, vinyl, cotton, batten, pieces of machine parts, candy wrappers, washers, felt, fabric scraps, junk jewelry, wallpaper samples, paper doilies, painted paper, construction paper
- Natural materials: sand, popsicle sticks, small stones, twigs, dried leaves or flowers, tree bark, moss, shells, fur or fake fur, straw, seeds, beans, rice
- Cut up text and photos from this lesson
- Scissors
- Heavy cardboard as a background
Preparation
- Divide the class into two. One group can work on the British side of the collage and the other on the Indigenous side.
- Have students describe where the signing of a treaty might have occurred (inside a fort; outside in an open field, etc.) and have the whole class create the background. They can draw this first on paper and compare notes.
- Make sure that the sky and the ground meet at the horizon line and that the sky isn’t just a strip at the top of the page
- Look at relative sizes of objects in their drawings
- Show the students how to use scrap materials to fill in the background area or paint it
- In the two groups, now have students create people (Indigenous and British) from the scraps and add the quotes and pictures from the text above. Are they near each other? What expressions do they have? What are they doing?
- Make sure that the pieces of found objects overlap. Also, make the Indigenous people out of more natural objects and the British out of man-made objects.
- Hand out glue only after students have their pieces cut out and arranged on the background and remember to leave space in the centre so students can include how the treaty was reached.
- As a class group, decide on the focus of the agreement — make this image larger than the rest of the images and place it in the centre
- Students may choose to make a border design of repeated objects — wampum was made of shells, or ribbon (British military)
- Collage-making is often more effective if done in two or three short sessions rather than in one long one.
- Admire. Invite another class in to see the collage and ask them what they see in it.


